Writing: Passion Bearer

As said Monday, I have a play of mine being performed soon. Auditions were yesterday and the day before, and now we are ready to start rehearsal next week (cue me screaming into the void). I also said I’d put up a scene from the show for my Repertoire Thursday. So, it’s up. It’s under the writing tab, titled Passion Bearer, or you can click here.

The show follows Alexandra Feodorovna, the last Empress of Russia, as she’s interviewed by Alexander Kerensky (an event that actually happened). Ultimately, it’s a telling of Alexandra’s tragic life, told through memories, just before she and her family are executed. SO MUCH historical research went into this project and it has been in the writing works for about four years. I’m excited for the production team, actors, and audience to get to know Alexandra and who she really was, and how mistreated she has been then and now.

Thanks for reading, and I’m still screaming into the void that this is happening in the first place.

Writing: Light Blue

For my Repertoire Thursday, this week we’re adding some writing. Due to some huge news I got earlier this week, I haven’t been able to write something new, but I do have some written work on standby.

This was a scene I wrote at grad school in Glasgow as practice for myself. It’s called Light Blue, and it involves a father and son who talk before a big event {spoilers}. It starts with the debate of a color tie and turns into something heartfelt.

If you’d like to read it, it’s posted under the Writing tab, or you can click here.

AFTER THE STORM

{A song is associated with this art piece, so I recommend having it on in the background: YouTube link}

img_8342

“Sometimes the only thing keeping me from ending it all is that I’m literally too scared to.” -Maren

img_8335

“Life ain’t easy but it sure is beautiful.” -Dave

img_8338

“Life is worth it because of faith and hope.” -Kirsten

img_8333

“If you’ve been struggling, that’s okay, but don’t do it silently.” -Syd

img_8336

“As long as we’re here we might as well do what we can to make this Earth a better place and make our own hearts happy.” -Elta

img_8334

“Life can be fun. It can be whatever you make it.” -Steven

img_8337

Confidence in your self-worth, your beauty, and that you’re doing what you believe is best for you and your world. -Brianna

img_8341

Making a Dementor

If you don’t know what a dementor is, I suggest taking your booty to the nearest store and buying the entire Harry Potter series.

img_8313Anyway, four days ago there was a Harvest Fest in my area. I live in a farming community, so harvest is a huge thing. And the festival is a celebration not only in that, but in Halloween and in marking the end of the farmers market until next summer. This year, Kathy (the lovely lady who was in charge of everything) themed it Hogwarts. And it was incredible. The past two years I came to Harvest Fest in creepy costumes (a possessed deer and the Red Death), so she asked me to do something creepy again this year. So, what did we decide?

A 7 foot 4 inch dementor.

Here’s how I did it:

Starting with the mechanic that gave me an extra foot and five inches. I had a foam circle (Hobby Lobby) that I super glued the bottom of small football shoulder pads (found a used one at a thrift store for four bucks) onto. The circle went on top of my head, and I put some elastic on the circle as a chin strap so it can stay in place. I later also put some elastic on to support the back of my head.

I got a foam head (Hobby Lobby) that I totally carved out to look a little more bony, or at the very least deformed. Once his ears, nose, eyes, and mouth were gone, I painted him brown.

Turns out dementors are grey (oops), so I repainted the head and blacked out some deformities. Then I painted him around some more just to make him even more ugly. Once he was ugly enough, I super glued him to the shoulder pads, which made him 7’4″.

Then I made some hands. I used a tutorial I found on Pinterest (linked here), and made them a little thicker and more grey. Once they were dry completely, I super glued them to a pair of cheap black gloves (Dollar Tree). That way I was able to move my hands and even grab stuff I need to. I also glued little clasps to the back, and later sewed clasps to the sleeves so my real arms didn’t show and he was just a mess of black fabric.

Making the cloak took an approximate of 10 yards of fabric (Hobby Lobby and Walmart). I grossly hand-sewed the fabrics together, ripping and cutting where I wanted to look absolutely disheveled. The very last piece of fabric that went on was the hood over the fake head. I glued the top of his head to the fabric so it would stay in place, and bunched the fabric on the side so it shaped the head better. (Also, thanks to Vladimir who tested the mechanic).

I wore all black under the cloak (duh) and went out to the Fest. Thanks to the way it was made, I was able to walk around, move my arms (aka reach out to little kids to scare them shitless), bend, and nod when someone asked for a picture. I would make the cloak a little shorter than it was because I did trip on it a bit. The only real issue I had was the mechanic at the top was supported by my head, which did bruise the next day.

Overall, I had a blast. The pain was worth it, and everyone loved it. The costume itself took an approximate 35-50 hours to make and cost about 40 dollars to make. The most expensive stuff was the fabric. I don’t know when I’ll bust this guy out again, but he was awesome to have even for just the Fest.

Hugs

Alexandra

Making a Poison Apple Pin

Recently I got to go to Disneyland as part of a birthday celebration. My friend Kiki and I went as a Disneybound Snow White and Evil Queen. The Evil Queen is my favorite villain, I love her (and that’s a psychological point for another time). So, of course, I went as her. I wanted to make something for the trip. It was originally going to be ears, but my lovely friend bought some fierce ears for me. So, I made a pin (partially because I thought my outfit needed something more).

img_8172Supplies used:

  • old corkboard I had lying around
  • scissors/a knife to cut the board
  • paint (red, white, brown, light grey)
  • white glitter
  • Krylon spray
  • a pin backer thing
  • some very good glue (I use E6000)

And of course, I had my queen on the side as inspiration.

First thing you do is trace the shape you want on the corkboard. It would be a total shame to cut and it come out looking like a pear. I used scissors for the basic cutting out and a small X-Acto knife for the small crevices/details. Also, please be careful cutting corkboard, whether you use scissors or a knife. It’s harder to cut and the extra force, if slipped, could be detrimental to your fingers.

Once you have a shape you’re happy with, it’s time to paint. Make sure, if you’re copying off something, that you have a reference. While my little apple to the side has green, if you look at the original movie it was white. Thus, I used white paint. Trace your design first, then paint. Go over it at least twice (I recommend thrice) so you can get all the little corkboard crevices.

After it dries completely, really clean the lines and add details. And because I’m extra as fuck, I had to add glitter. In order to do that, I put the glitter on carefully and a little bit at a time with my final layer of white paint instead of glue. I also highly recommend doing that with paintbrushes rather than pouring it on, only because I wanted to completely avoid getting glitter into the red apple. Once everything is on and complete, spray some Krylon on so that everything stays as is.

Let the Krylon dry completely. I let it sit overnight if I have time. Then you put a strip of E6000 on and firmly press a pin backing. This, definitely, you need to wait a solid overnight (24 hours preferable) for the glue to fully dry and stick. Open and close the pin a few times so it doesn’t stick when you try to put it on and take it off.

And here it is, on my backpack at Disneyland. It lasted the entire day with my ripping my backpack on and off, and the paint/glitter stayed crisp and clean.

I’m actually interested in making more pins. I really enjoyed the process.

If you decided to do this, let me know! I would love to see.

Hugs

Alexandra


Making Floating Candles

img_7984Remember my teacher friend from previous posts? It’s been a hot second since I talked about her, but she’s back! For her classroom this year, she themed it Harry Potter. And because she trusts my creativity(?), she asked for input. So I helped decorate her classroom. One of the things I came up with were floating candles to hang from the ceiling. Here’s how I made them.

img_7939Supplies I used:

  • Hair rollers from Dollar Tree
  • Paint–light blue and white–from WalMart
  • Plastic wire typically made for making jewelry. I grabbed this from my jewelry making kit and don’t remember where I got it but I’m sure you can get it anywhere that sells jewelry making stuff
  • Orange construction paper
  • Paper clips

Because the rollers were dark blue, painting it white over it immediately wouldn’t give a good effect, so I painted all the rollers in a light blue paint. These rollers have plastic ends on them, and since only one side will be visible I painted one end but not the other. This’ll actually help in the long run.

Once the blue dried, I thought I’d be good to go for white. Well, word to the wise, paint one end first, because what’ll happen is the blue will come off with the white if you touch the wet paint. So, I painted the majority of the candle white, waited for it to dry, then painted the rest of it white. Now I have white, flameless candles.

Here’s why it was good not to paint over both ends: I was able to secure the plastic wire around the plastic end piece and tie it so it wouldn’t randomly fall off. Once I’ve got plastic wire on every. single. candle, I cut out tons of flame twins out of orange construction paper. And I don’t know why I didn’t get a pic of this (good job, Alexandra), but I put the flame twins against each other on the plastic wire so the stay up.

Then I attached the plastic wire on a paper clip slightly opened (again, no pics, Alexandra?). The paper clip goes into the ceiling, and if you know public school ceilings you know that they are cardboard tiles, practically. So I put the open end of the paper clip in the tile borders and the candles are thus floating!

68607617_10213999014065604_5273038633287286784_n

I only made a solid 18, but from what my teacher friend told me the kids really like them. And I suppose that was the point, lol. It all worked out, and it cost less than 10 dollars.

If you decided to do this, or even have a different way of doing this, let me know! I would love to see.

Hugs

Alexandra

Worrying About My Playwriting

I write plays. I’ve written a few. Nothing produced, but they exist. I even have a degree in playwriting, so I must be decent, right?

…right?

To save you some time, I’m just going to tell you that this is a story about me comparing my own damn self to others. I know I shouldn’t, shut up and let me tell my story!

I’ve been editing a play I’ve worked on for about three years now. I’ve submitted plays to competitions, theaters, and the like before. Never got past the first submission. Anyway, I’m editing this play, since I want it to be the first work of mine I see produced on stage. There’s a call for local playwrights to submit work for production, so hell yeah I’m gonna submit work.

I take a break to check social media ’cause I’m a millennial or something. On Facebook, I see the call for local playwrights (again) from a friend who had his work produced, I see a Scottish classmate who is having her work done on stage and opening night is tomorrow, I see someone getting professional praise for his scripting, and I see an actress friend whose play received a special commendation from an esteemed competition in New York.

After that, I logged off Facebook and just sat at my desk doing nothing for about two and a half hours. Not even working on my own play.

I just felt so deflated, not that I was inflated to begin with.

Have I not tried enough? Or am I just that lousy of a writer?

Since then, I haven’t been able to work on my piece again. I don’t quite know what to do about starting it up again. But something must be done if I want to be a playwright. I can’t just give up, nor will I.

One thing I know I need to do is congratulate my friends. Just because I don’t feel successful does not mean I want to diminish their work. They obviously worked hard and got what they deserved. I’m just a wee jealous (lol). Love you all, wish I could see all your work.

Another thing I should do is learn to be okay with my own work. And that’s a journey in and of itself.

I’m gonna keep trying, and maybe one day fortune will find me. I just might be a late bloomer.

If you take anything from this, know that just because others are good at something it does not diminish your talent. Just because my friend Kendall is great at writing a play does not mean I suck. Just because your friend is good at something does not make you bad at the same thing.

Yes, I’m still bummed at how slow my foot is from getting into the door. I’m still jealous at the accomplishments of my friends. I’m still beating myself down for something I can’t control. It’s a process that I’m trying to break, but it won’t be an overnight process.

I’ll get back to work on the play. Eventually.

Hugs

Alexandra

How Paris Made Me Feel Okay Again

In June 2017, I took a spontaneous trip to Paris, France. I stayed at Disneyland Paris, spending two full days at the parks and one day on an excursion to the city of Paris. But I was in the middle of graduate school, specifically right off the tail of an internship and in the middle of my IRP, or dissertation. Why would I go spend so much money at such an inconvenient time?

Because it was needed.

Time for a story. When I was in Glasgow, I was in a relationship that we decided to keep on the down low. For reasons, I’ll call him Tom. He and I went out for quite a while, and things were going well. He was a great guy. Until the very unfortunate breakup. Without going into too many details, I happened upon him and his mates talking about me. The friends were wondering what he was doing with an ugly, fat person like me. And Tom’s response was that, while I was indeed ugly and fat, I had a decent personality. I pop my head out, say my goodbyes, and leave.

What an upsetting time. I already had my own body issues, I hated the way I looked but was trying to build up my confidence. And the fact that someone I loved thought in such a way put me in a really sad place. I locked myself up in my flat, trying to distract myself with my school work, hating life. Couldn’t do it. I needed a confidence booster and I needed it now.

So I sent myself to Paris.

I’ll go day by day, starting with my first day in the parks. Disneyland is a happy place. The employees there are required to make you feel special. Every place I went, ride I went on, gift shop I visited, they made me feel like a wonderful, worthy person. Also, Disneyland Paris is BEAUTIFUL. I’m sorry, Disneyland California, but you can’t beat Paris. Having a change of scenery helped keep my mind off Tom, off my work, off my own low self-esteem. The first day was just wandering the parks, getting endorphins and a happy high from everything around me.

The next day I went on an excursion (with Disneyland) to the city of Paris. This included a tour of the city, a River Seine cruise, and a trip to the Louvre. It was another change of scenery that I adored. The Louvre was actually very special to me in my depressive state. I loved seeing priceless art, specifically art that featured some chub on a lady. Ladies with curves, with fat, depicted in quite beautiful ways.

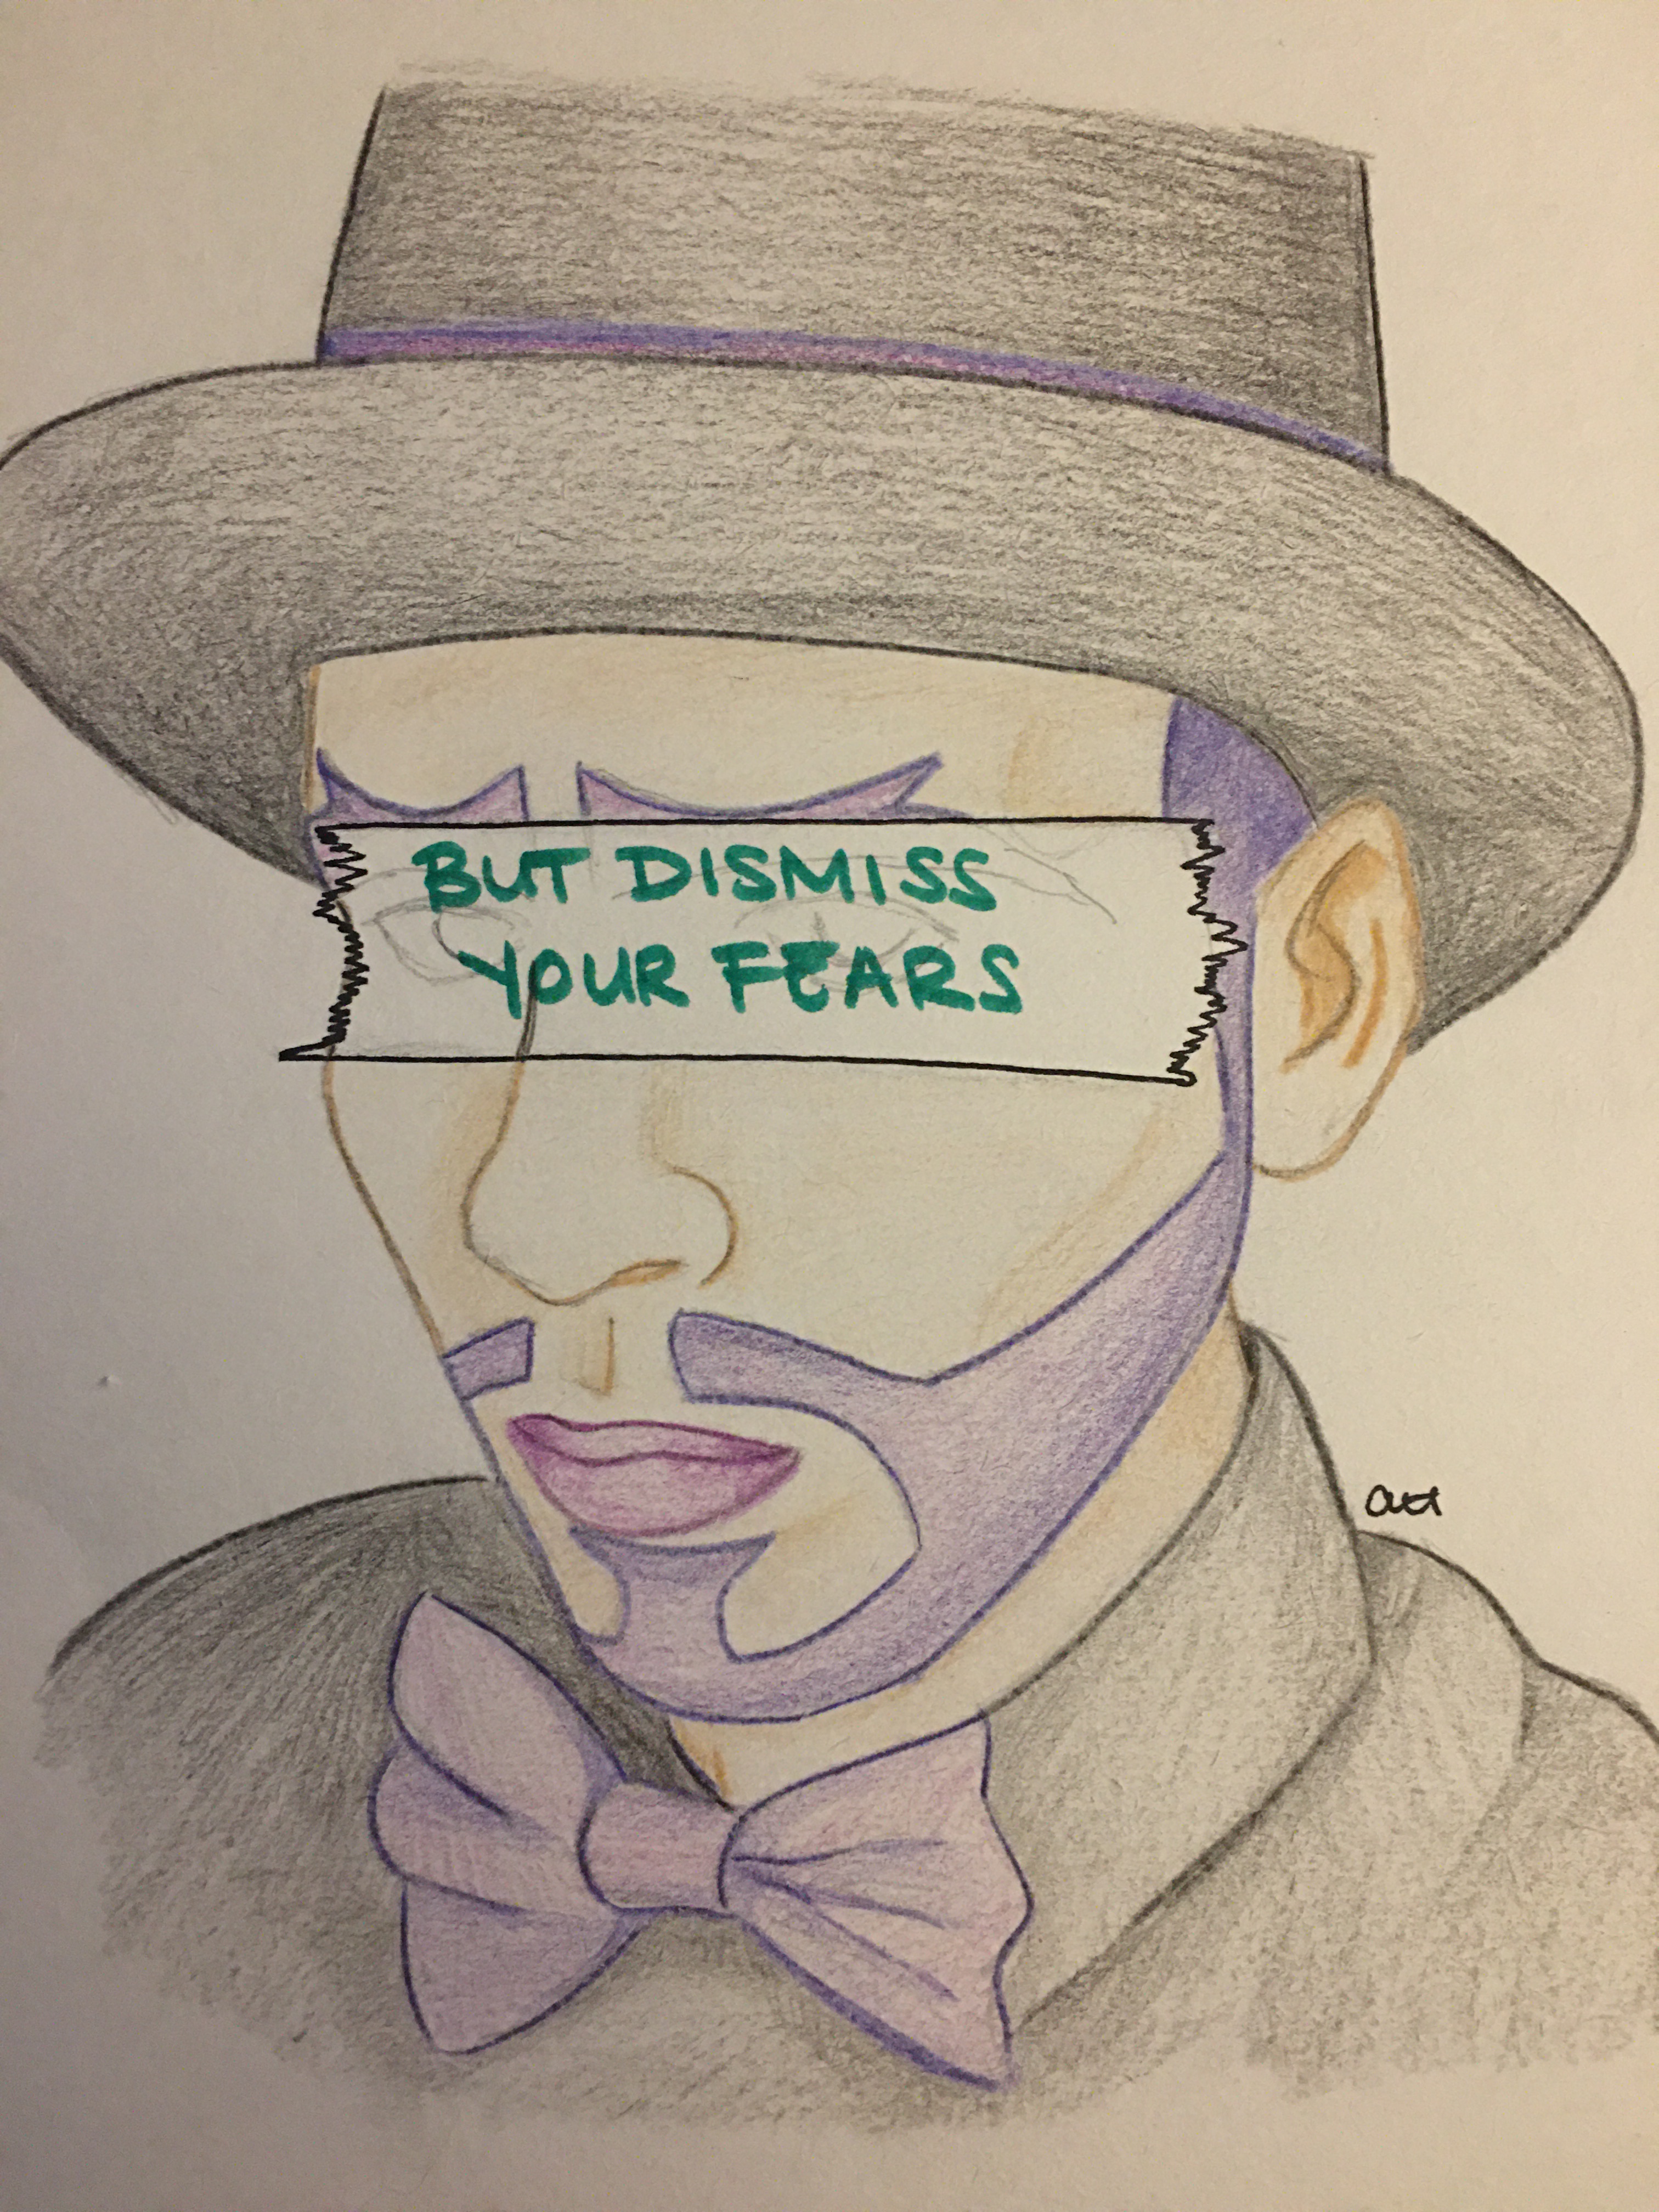
And the third day I spent in France was in the parks again. This time I Disneybounded as Jack Skellington, and I was able to go into the park an hour early to meet characters and go on rides. This was the day I felt most special. The characters were amazing, the staff was fantastic as well, even some of the park goers gave my outfit compliments. No one treated me terribly because of my size or nationality (both fears of mine when I went to Paris). I did everything I possibly wanted to: I rode all the rides I wanted, I met the characters I wanted to the most (with the exception of Belle), I ate, drank, and was merry! It was near impossible to feel bad about myself in such a place.

And the next day I went back to Glasgow, and back to my school work.

These three days I spent in Paris were important to me, and I know I’ll cherish them forever. And I have to say, I’m proud of myself for doing something like this for myself rather than wallowing in self-hate and eventually breaking down beyond repair. So, I’d like to say to you guys that you are beautiful. If anyone says otherwise, they are not worth your time. Treat yourself, and spend time reminding yourself how lovely and valid you are.

One more note, I know people who are reading this (friends and family) are gonna want to know what happened with Tom, and how I feel about things now. I’m over it, and I’m over him. Trust me, I don’t think about him much. I don’t see this breakup as something to look back on and talk about. Our relationship was kept quiet in the first place, so the breakup was in the same fashion.

Anyway, you’re beautiful, you’re amazing, you’re worthy of love. And if you don’t feel that way, work on yourself and treat yourself until you believe it. I’m still working on it, but at least I’m working.

Hugs

Alexandra

Making A Potted Garden

garden 2 I love being crafty, especially lately when it seems that so many spring and summer things have come up in stores.

I decided to put that craftiness to use by making a potted garden, like a land of fairies or gnomes. But if you notice the basic layout of the garden, there’s a lot of space for more flowers and more garden. I definitely could have done more, however, this was created for my teacher friend I often talk about as a lollipop holder for her well-behaved students.

That’s right. It was a garden of sweets.

But how to do the do? How to make the make? Beautiful, I am here for you. And even better news, I got all my stuff from the dollar store. So you can make your own garden of sweets without breaking the bank.

So here’s what you’ll need:

  • three flower pots of different sizes
  • foam for foundation inside pots (I prefer the balls for the small & medium pot)
  • fake moss
  • small rocks
  • fake flowers
  • a gnome outhouse (or another type of fairy establishment)
  • lovebirds (optional)
  • butterflies (optional)
  • hot glue gun with hot glue
  • regular liquid glue (I used Elmer’s clear glue)
  • a medium paintbrush
  • wire cutters

1. Put foam into the pots. The largest one should be overflowing foam. The medium one should have the foam stop right at the mouth. The small one should have a little bit of foam, not yet reaching the mouth. Hot glue the foam into place.

2. Hot glue the medium pot on top of the large pot. The hot glue the small pot on top of the medium pot. That way you get the three-tiered garden.

3. With the regular liquid glue and brush, paint on the foam. That’s right, paint glue. As you glue the foam, stick on the moss until you cover all of the foam on all three pots.

3 1/2. I decided to spray the moss with hairspray to that the moss would stay in place.

4. Once the moss sets, hot glue the outhouse onto an empty part of the ‘field’.

5. Hot glue small rocks around the sides and especially the back of the outhouse. Not only does it help support the outhouse if necessary, but it also helps it look more lived-in, like someone or somegnome piled the rocks there. Honestly, I’m not sure why garden houses have rocks, but it looked too natural to leave out. So I got rocks.

6. Using wire cutters, cut the tops of the flowers from the majority of the stem. Leave just a wee bit of stem to stab into the foam under the moss so it looks like the flowers are growing out of the ground.

7. If you decide to have lovebirds, hot glue them on the top tier side by side.

8. If you decide to have butterflies, hot glue them on the lip or sides of the largest pot, or even the medium pot if you’re particularly brave.

And voila. You got yourself a lovely little garden scene. From here you can stab the moss with any sort of lollies that you want, or you can stab some more flowers for a proper garden.

On top of that, I used leftovers (and some of my clay) to make a nice little monster home. A medium pot, a small pot, foam, moss, and flowers. And a wee monster peaking from under the flowers.

Anyway, like I said, I love being crafty so hopefully I’ll have some more of these posts out and about. Enjoy them, and let me know if you do any of them. I’d love to see!

Hugs

Alexandra


The Hunchback of Notre Dame Review

I’m down in Utah, but more on that later.

I got to go down to Sandy to the absolutely stunning Hale Centre Theatre to see The Hunchback of Notre Dame.

Now for a treacherous drama-person secret: I’m not a fan of musicals. (Cue all theatre peeps gasping in shock. How dare I?!) In my field of study, I work on straight plays. A musical or two does find a way to tickle my fancy, and Hunchback is one of them.

Based off the book by Victor Hugo and the songs from the Disney movie, it is whimsical while packing a punch to the tear ducts.

As for the production I saw, it did not disappoint. From the sets to the sound to the costumes to the acting, everything looked well thought out. However, I have to give the biggest kudos and highest praise to the lighting design. When I say impeccable, I mean PERFECT. The most visually stunning scene being Hellfire when fire, created by lights, erupted from beneath Frollo’s feet and spread onto the walls to the ceiling. Colour me impressed. The setting, amazing. The acting, fantastic. The costumes, beautiful. I’d like to give another shoutout to the actor who played Clopin, David Paul Smith. To me, he was the star of the performance. Smith had such dynamic stage presence while also being able to sing, dance, and act. Bravo!

‘But there had to be something bad about it right?’ sigh Unfortunately, voice in my head, you are right. I believe the point of Hunchback is minimalism in set design as to achieve as much as possible with the change of settings and constant moving of actors. As beautifully made as the sets were, having to constantly move a giant bridge that symbolised Quasimodo’s bell tower was distracting. Minimalism would’ve helped this play more. And besides a couple of hiccups with makeup, effects, and music, there was nothing else that could distract me from such a wonderfully done production. (Except for the ass two rows in front whose phone went off during Place of Miracles in the second act. Poo on you, sir!)

Overall, 4.5 out of 5 stars.

Check out Hale Centre Theatre and their upcoming productions, including Newsies. Hale Centre Theatre